Remember the thrill of booting up your favorite childhood game? The iconic startup sounds, the pixelated graphics that felt so real, the countless hours spent exploring virtual worlds? What if you could relive those moments anytime, all from the comfort of your modern PC? That’s the magic of game emulation. An emulator is a piece of software that mimics the hardware of a classic game console, allowing your computer to run games (ROMs) designed for that system. This ultimate guide will walk you through everything you need to know, from choosing the right emulator to finally playing that classic you’ve been yearning to experience again.
Understanding the Basics: Emulators and ROMs
Before we dive into installation, it’s crucial to understand the two key components of retro gaming on PC.
What is an Emulator?
An emulator is a program that replicates the functionality of a video game console’s hardware. Think of it as a virtual console inside your computer. Popular examples include Dolphin for Nintendo GameCube and Wii, PCSX2 for PlayStation 2, and RetroArch, which is a powerful front-end that consolidates multiple emulation “cores” into one application. Each emulator is specifically designed to handle the unique architecture of its target console.
What is a ROM?
A ROM (Read-Only Memory) is a digital copy of the game cartridge or disc. It is the software file that the emulator runs. To play a game, you need both the correct emulator for the console and the corresponding ROM file for the game. It is a legal requirement to only create ROMs from game cartridges or discs that you personally own. Downloading ROMs for games you do not own is a copyright violation.
Choosing and Downloading the Right Emulator
The first step is selecting the emulator that matches the console you want to emulate. A quick web search for “best [Console Name] emulator” will yield great results. For beginners, RetroArch is often recommended because it provides a unified interface for many systems, though its setup can be more complex. For specific consoles, here are some trusted, high-quality options:
- NES: Mesen, FCEUX
- SNES: Snes9x, bsnes
- Nintendo 64: Project64, Mupen64Plus
- GameCube / Wii: Dolphin (highly recommended)
- PlayStation 1: DuckStation (easiest and best)
- PlayStation 2: PCSX2
- Sega Genesis: Kega Fusion
Always download emulators from their official websites or reputable sources like GitHub to avoid malware. Avoid any site that bundles emulators with adware or requires you to complete surveys.
The Installation and Setup Process
Once you’ve downloaded your chosen emulator (usually in a ZIP file format), the installation process is typically straightforward.
- Extract the Files: Find the downloaded ZIP file, right-click it, and select “Extract All.” Choose a simple destination folder, like “C:Emulators[Emulator Name]”.
- Run the Emulator: Navigate to the newly extracted folder and look for the executable file (e.g., Dolphin.exe, pcsx2.exe). Double-click to launch it.
- Initial Configuration:
- The emulator will often walk you through a first-time setup wizard.
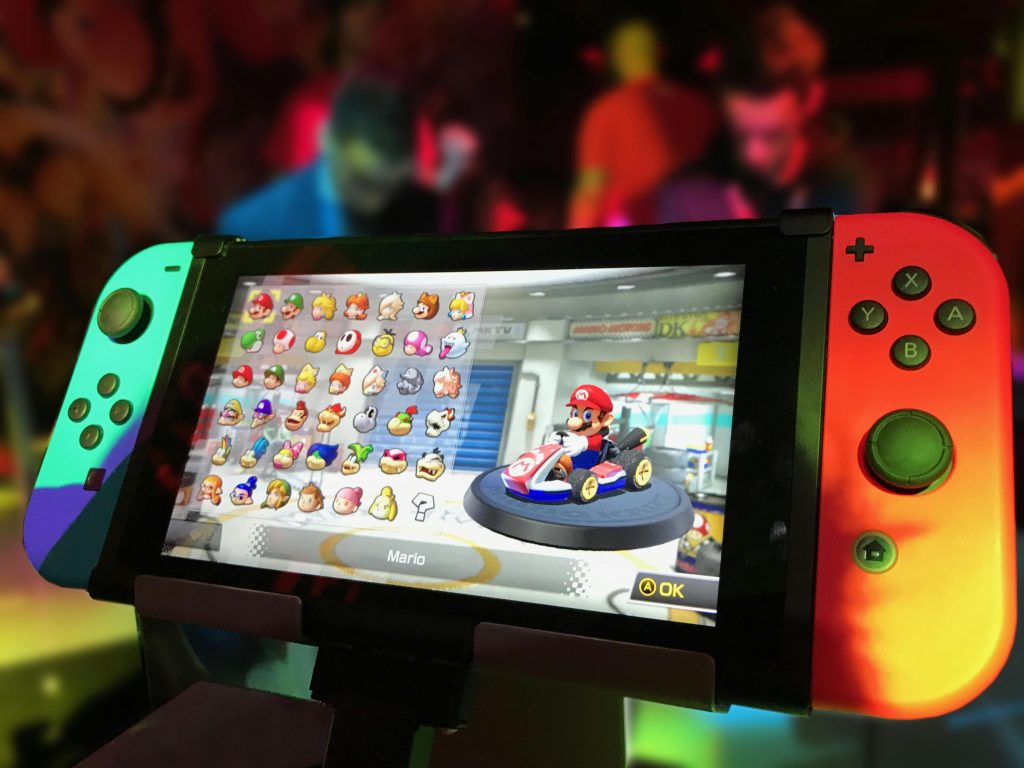
- The most critical step is configuring your controller. Go to the Input or Controller settings. You can use your keyboard, but for the authentic experience, we highly recommend a modern gamepad like an Xbox or PlayStation controller, or a dedicated USB retro pad.
- You may need to direct the emulator to its “BIOS” files for certain consoles (mainly PlayStation models). These are system files that are sometimes required for accurate emulation. Like ROMs, these should be dumped from a console you own.
- Graphic Settings: One of the biggest advantages of PC emulation is enhancement. Dive into the Graphics or Video settings. Here, you can often increase the internal resolution far beyond what the original console could output, apply texture filters to smooth out pixels, and even enable widescreen hacks. This can make a 20-year-old game look stunningly modern.
Loading Your Games and Starting to Play
With the emulator set up, it’s time to play. If you have legally acquired your own ROM files, you are ready to go.
- Launch your emulator.
- Look for a menu option like File > Open or Game > Load ROM.
- Navigate to the folder where you’ve stored your ROM file, select it, and click “Open” or “Load.”
- The game should now boot up just as it would on the original hardware!
For a more polished experience, many emulators support a feature called “ISO loading” for disc-based games or can scan a folder of ROMs to create a visual game library with cover art. Emulators like RetroArch and LaunchBox specialize in creating this beautiful, unified game library front-end for all your systems.
Tips for a Smooth Emulation Experience
- Save States: Unlike original consoles, emulators allow you to save your progress anywhere, anytime using save states. This is a game-changer for difficult sections.
- Experiment with Settings: If a game is running slowly or has graphical glitches, don’t give up. Tweak the graphics backend (Direct3D, OpenGL, Vulkan) and other settings; online forums are full of game-specific recommendations.
- Check Compatibility:
Most emulators have online wikis that list the compatibility status of every game. If one isn’t working, check there for tips or known issues. - Respect Copyright: Emulation is a fantastic tool for preservation and enjoying games you own. Please support the developers and publishers by purchasing games through official virtual consoles or re-releases when available.
Conclusion
Emulating classic games on your PC is a rewarding hobby that bridges the gap between gaming’s rich history and modern technology. It allows you to preserve and enhance your favorite classics, often making them look and play better than ever before. While the initial setup might seem daunting, this guide provides a clear path from downloading your first emulator to fine-tuning your gameplay experience. So, find that emulator, configure your controller, and get ready to take a nostalgic trip down memory lane, one pixel at a time. Happy gaming!