So, you want to share your gaming prowess, hilarious reactions, and epic wins with the world? Live streaming on platforms like YouTube and Twitch has exploded into a mainstream phenomenon, creating communities and even full-fledged careers. But between the software, hardware, and platform choices, getting started can feel overwhelming. Don’t worry. This complete guide will walk you through every single step, from choosing your platform to hitting that “Go Live” button, ensuring your 2024 stream setup is professional, engaging, and ready for an audience.
Choosing Your Arena: YouTube Gaming vs. Twitch
Your first major decision is where to plant your flag. Both YouTube and Twitch are titans of live streaming, but they cater to slightly different audiences and goals.
Twitch: The Gaming Community Hub
Twitch is synonymous with game streaming. It boasts a massive, dedicated community that lives and breathes live content.
- Pros: Massive built-in audience specifically looking for live streams, superior chat interaction tools (like Channel Points and BTTV), and a clear path to monetization through subscriptions and bits.
- Cons: Highly saturated, making discovery difficult for new streamers. VODs (Video on Demand) are not prioritized and disappear quickly unless highlighted.
YouTube Gaming: The Power of Discovery
YouTube Gaming is integrated directly into the main YouTube platform, leveraging the world’s largest video search engine.
- Pros: Unbeatable discoverability through YouTube’s powerful algorithm. Your live streams can be recommended alongside popular videos, and your VODs remain on your channel forever, continuing to attract views. Superior video-on-demand platform.
- Cons: The live chat culture is not as deeply ingrained as on Twitch. The audience might be more passive, often discovering streams after they’ve ended.
The Verdict: If your goal is to build a highly interactive, traditional streaming community, start with Twitch. If you want to leverage a massive archive of VODs and benefit from algorithmic discovery, YouTube is a powerful choice. Many streamers actually multistream to both platforms using third-party tools to maximize their reach.
Gearing Up: Essential Streaming Hardware & Software
You don’t need a $5,000 PC to start, but a solid foundation is key to a quality stream.
Core Hardware Components
- PC: A capable computer is non-negotiable. A modern multi-core processor (CPU) and a dedicated graphics card (GPU) are essential for handling both your game and the encoding process smoothly.
- Internet Connection: A stable, high-speed wired ethernet connection is mandatory. Upload speed is king—aim for at least 10 Mbps upload for a crisp 1080p stream.
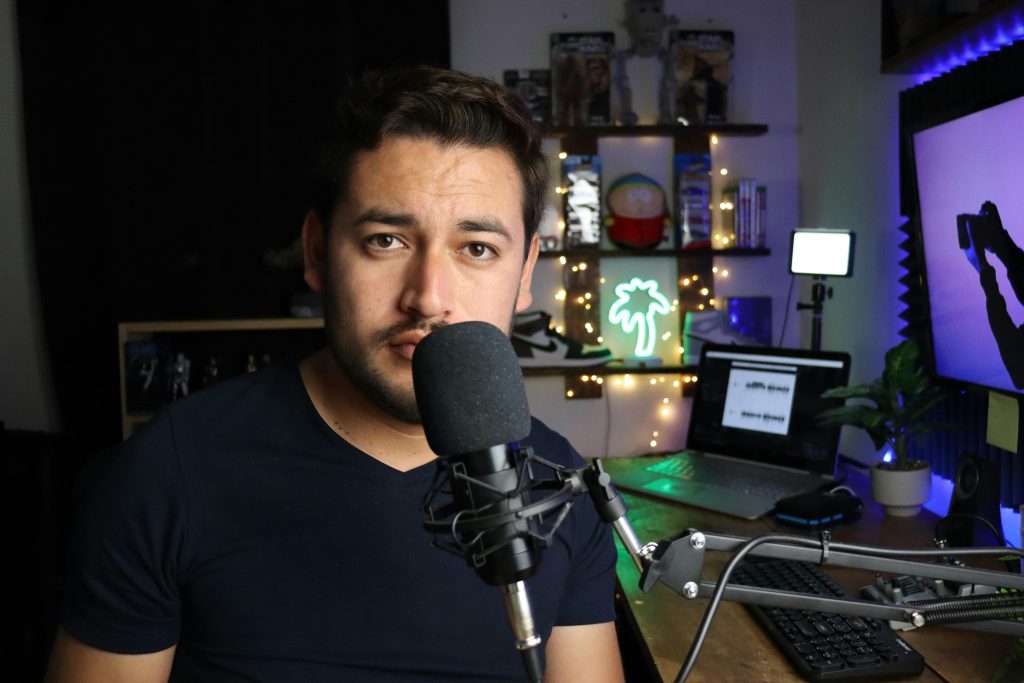
- Microphone: Audio quality is more important than video quality. A clear, standalone USB microphone like a Blue Yeti or Rode NT-USB is a fantastic starting point.
- Webcam: Viewers connect with a face. A 1080p webcam like the Logitech C920 or C922 is the industry standard for beginners.
- Optional (But Recommended): Good lighting (a simple ring light works wonders) and a comfortable chair.
The Software That Brings It All Together
This is the application that mixes your game footage, webcam, audio, and overlays into a single broadcast.
- OBS Studio (Open Broadcaster Software): The undisputed, free, and open-source champion. It’s incredibly powerful, supports countless plugins, and is the tool most professionals use. It has a slight learning curve but is our top recommendation.
- Streamlabs Desktop: Built on OBS, Streamlabs offers a more user-friendly interface with built-in overlays, alerts, and widgets. It’s easier for beginners but can be more resource-intensive.
The Ultimate Stream Setup & Configuration
With your gear ready, it’s time to configure your software for a flawless broadcast.
1. Setting Up Your Streaming Software (OBS Studio)
After installing OBS, you need to connect it to your platform. Go to Settings > Stream. Select your service (YouTube or Twitch) and then you’ll need a unique Stream Key. You can find this in your YouTube Live Dashboard or Twitch Creator Dashboard. Keep this key secret—it’s like your streaming password!
2. Creating Your Scenes and Sources
Scenes are different screens you can switch between (e.g., “Starting Soon,” “Gameplay,” “BRB”). Within each scene, you add Sources—the individual elements that make up the scene.
- Game Capture: Add a Game Capture source to show your gameplay. This is more efficient than Display Capture.
- Video Capture Device: Add this source for your webcam.
- Audio Input Capture: Add this for your microphone.
- Audio Output Capture: Add this to capture desktop/game audio.
3. Dialing In Your Stream Settings
Head to Settings > Output. For most beginners, using the Simple output mode is sufficient. Set the following:
- Video Bitrate: This is crucial. For 1080p at 60fps, a bitrate of 6000 Kbps is the sweet spot. Ensure your upload speed can handle this.
- Encoder: If you have a modern NVIDIA (NVENC) or AMD (AMF) GPU, use that encoder. It offloads the work from your CPU, drastically improving game performance.
In the Video settings, set your Base (Canvas) Resolution to your monitor’s native resolution (e.g., 1920×1080) and your Output (Scaled) Resolution to 1920×1080. Downscale if necessary for slower internet. Set your FPS to 60.
Going Live and Growing Your Channel
You’re configured and ready! But hitting “Start Streaming” is just the beginning.
- Hit Go Live: Double-check your scene, ensure your audio levels are green (not peaking in the red), and hit “Start Streaming” in OBS. Then, go to your YouTube or Twitch dashboard and officially start the stream.
- Engage Relentlessly: Your number one job is to talk to your chat. Welcome new viewers, ask questions, and make everyone feel included. A lively streamer is a successful streamer.
- Be Consistent: Stick to a schedule. Your audience will know when to find